Music Video
Starting the project
This was the final project for my Motion Graphics class in which we were instructed to create a video featuring audio in After Effects. For my project I wanted to use a song that I had been listening to at the time named "Bayonetta - Fly Me To The Moon," a remixed version of the "Fly Me To The Moon" in the game Bayonetta. Due to time constraints, I wanted to limit the amount of the song I animated, which is why the video is roughly 40 seconds of the entire 5-minute song. Below is the song in its entirety.
Final Music Video
This was a final project for my Motion Graphics class in which we were directed to design a video utilizing the different tools in After Effects. I decided for my project I would make a music video based on a remixed version of the song "Fly Me to the Moon" from the game Bayonetta. Below are all my thoughts and creative processes for creating all the visuals in the animation.
Stars and Line
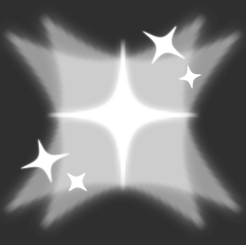
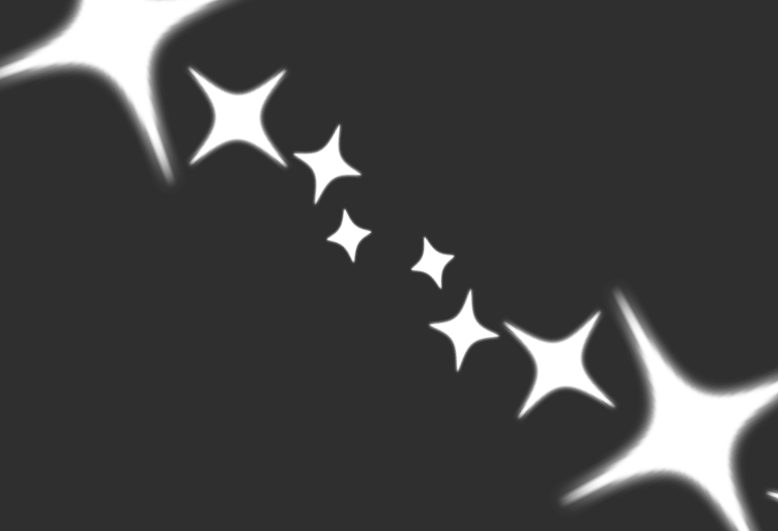
The first part of the song is instrumental, the first 14 seconds to be specific, meaning I wanted to include some visuals to help with the song's vibe. There is a bit of vocal sound at the start, occurring three times in a row. I created a star asset that would shine with stars around it and have two slightly transparent stars spinning behind it. I repeated these stars three times to match the song's start, placing them in the top two corners and bottom middle, and spaced them out to match the song.

I wanted to experiment with the popular After Effects plug-in Omino Snake. So after the stars there was a moment of only instruments and no vocal sound backing, making a good place to put in the line. The line is simplistic, but due to the speed and smoothness of its movement in combination to the song's aesthetic, it works along side the song. I made the line loop back on itself at the start to extend it's time and create more movement then it just going to the right.


Spiral Stars
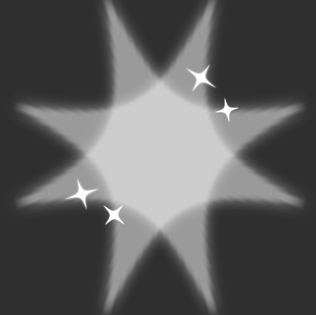
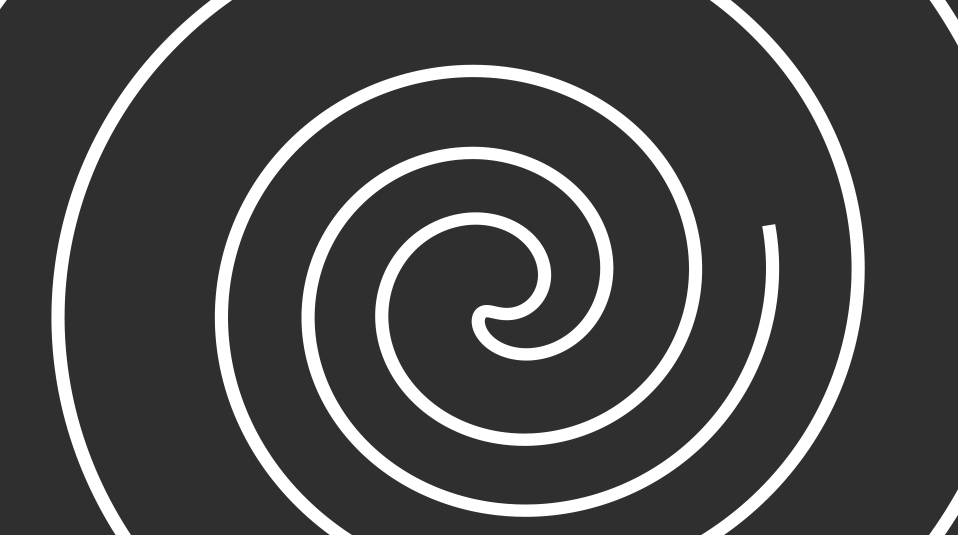
After the short instrumental only, the backing of vocal sounds comes back in a more pronounced way. I wanted to make it have stars again, but not in the exact same way, so I used the base of a star and made it spiral out from the center. While spiraling, the stars would change size and rotation to add extra movement. The stars are also much bigger this time to intensify the feeling they have more. Like before there were three times the vocals appeared, but this time I put the stars in different spots, these being the center of the screen for the first vocal, two for the second in the corners of the screen where the first star spiraled out to and two in the remaining corners for the last vocal sound.
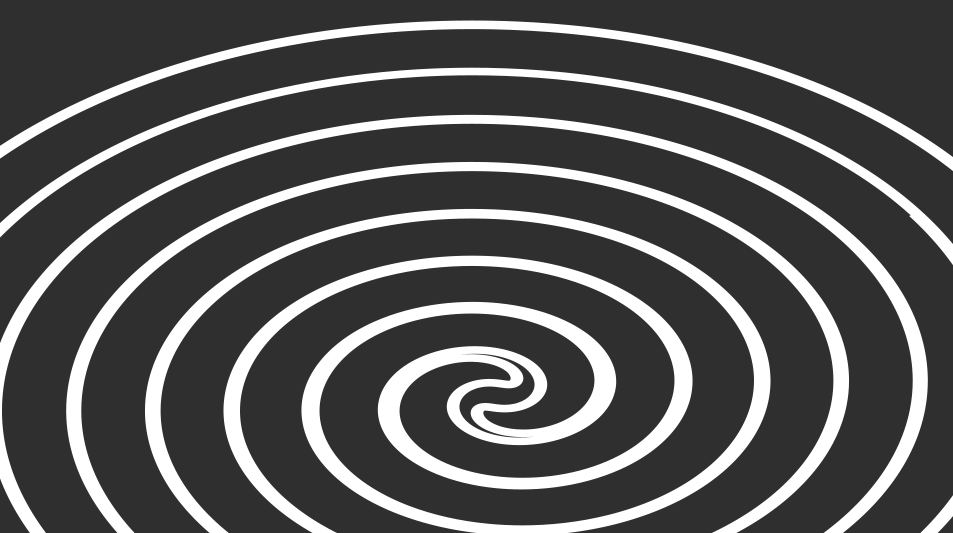
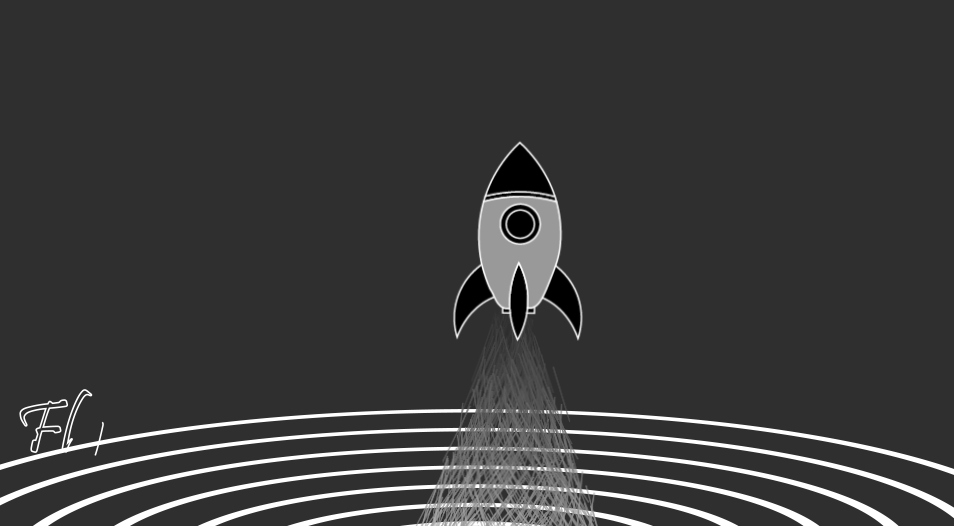
The next part of the song has a build-up and then starts the lyrics. I had a plan in mind for a rocket ship to fly with the music video due to it being space-related. This gave me the idea of making a launching pad for a rocket ship. I used the Trim Paths tool in the build-up to this project, which gave me the idea to make the launching pad a spiral. I created the spiral shape in After Effects through the use of a rectangle and a high twist, then removing the fill and adding a heavy stroke. I then applied the Trim Paths effect to the spiral and keyframed the spiral to shrink and move down after a short second. The reason for the shrinking and movement was to give the effect of it becoming a flat plane for the rocket to launch off of.
Rocket and Particles
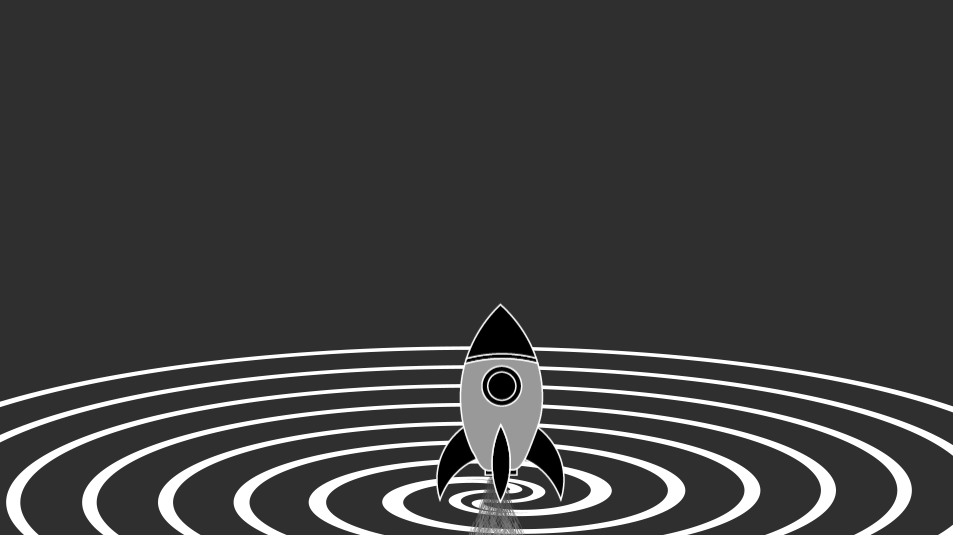
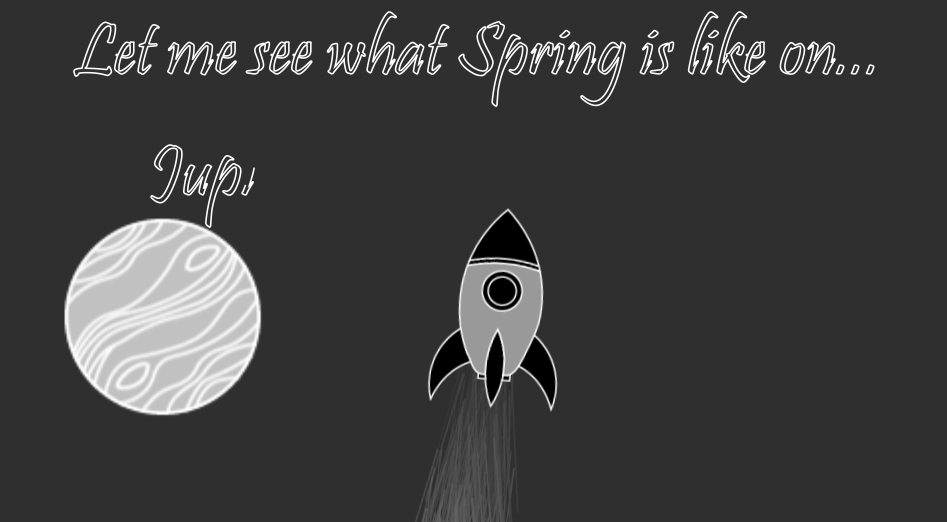
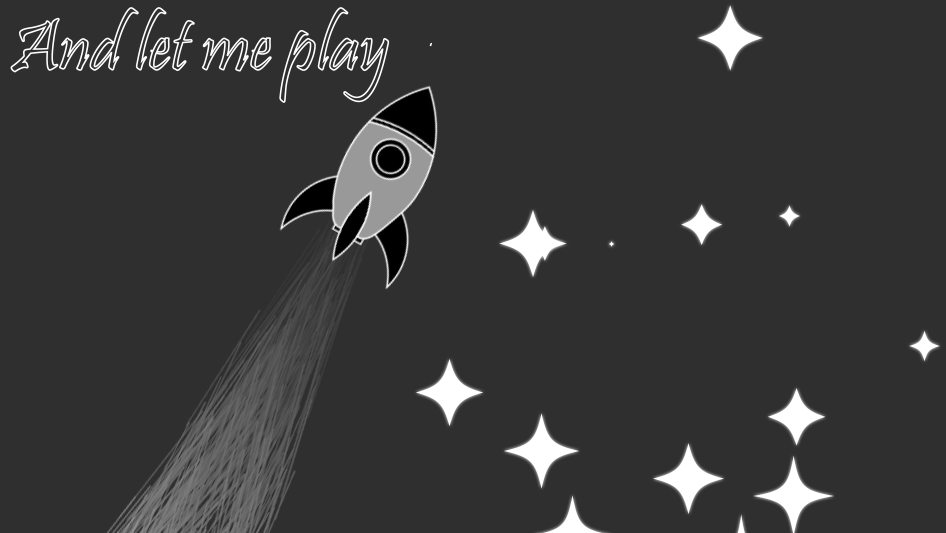
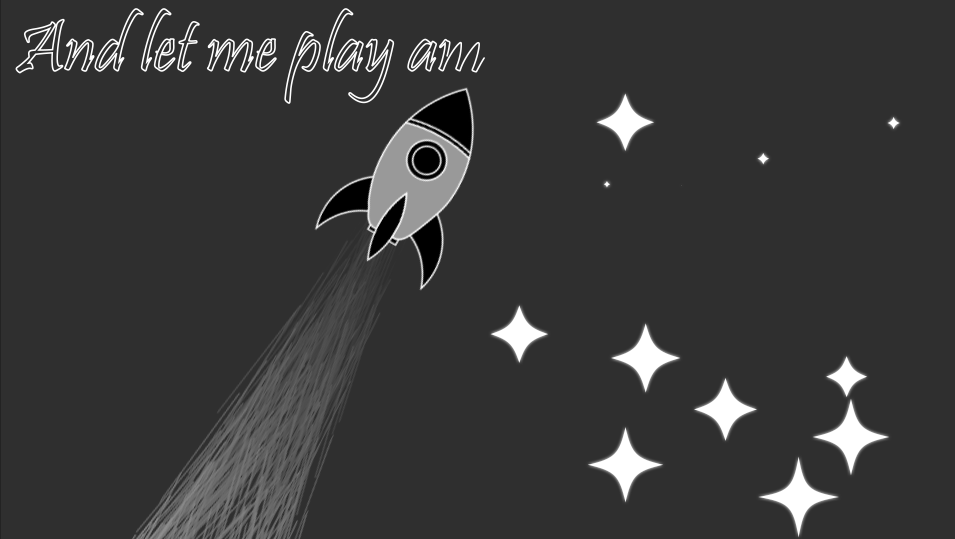
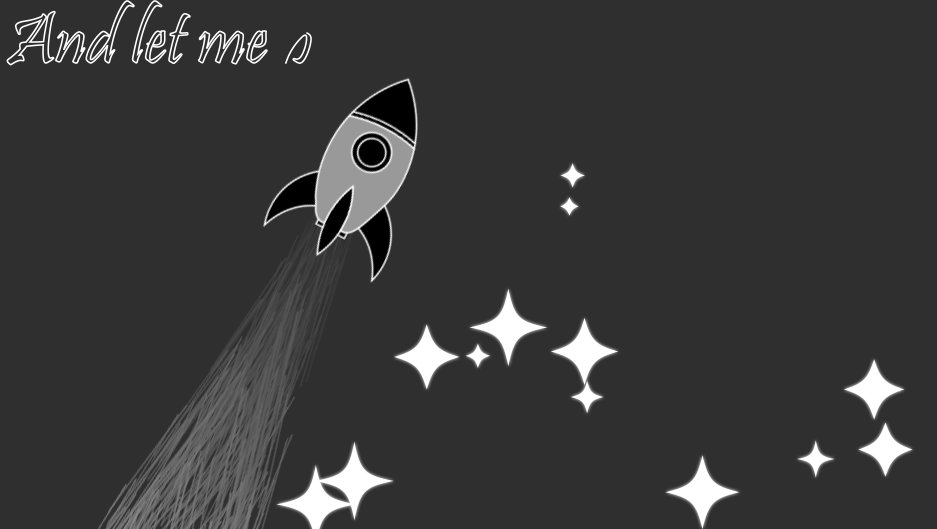
As mentioned before and shown in the last image, I wanted to create a rocket for this video. In Illustrator I created a simplistic rocket design and exported it over to After Effects. I had the rocket grow out of the spiral as a means to have it appear without it being instant. Once the rocket appears and the particles start its position moves upwards and the spiral's position moves downward. After moving up, I keyframed the rocket to move to the right and rotate slightly to give it more movement. I would then move it to the left then subsequentially move it back to the center and rotate it once again. It would be removed after the lyrics about Jupiter and Mars.
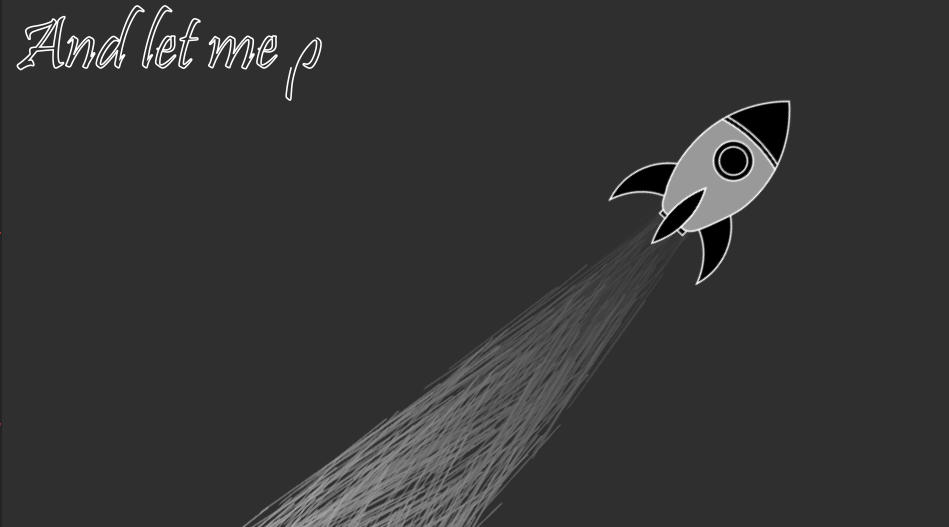
As shown with the rocket, there was a constant particle effect out of the rocket as it moved throughout. These particles were made by using the After Effects particle effect and keyframing the movement of the particles to be behind the rocket at all times. The color choice of the video was black, white, and gray, so I made the particles a dark gray near the base of the rocket and a lighter gray moving outwards.
Lyrics
All of the text in the video, the lyrics, and the credits, were done in the same fashion every time for consistency. I typed out the text, converted that text into a shape layer, because Trim Paths only works on shape layers, removed the fill and added a small three-point stroke, and then applied the Trim Paths, keyframing for when it both entered and left the video. I want to make a note that I wished to originally have the text just with a fill inside of a stroke due to the stroke taking away parts of the font's style, but due to how Trim Paths work, I would get a lot of glitches every time a letter was created. However, when the text was an outline and not filled, there would be no glitches, so I went for functionality over what would have been preferred. I used the font Pristina due to the fanciful way it looks as well as not looking bad when it has a stroke on it.
Moon, Planets, and Shooting Stars
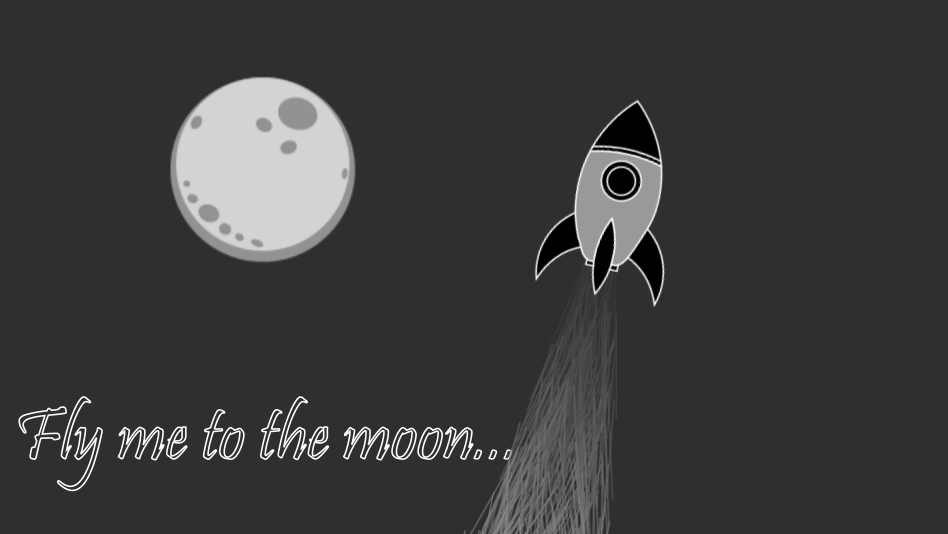
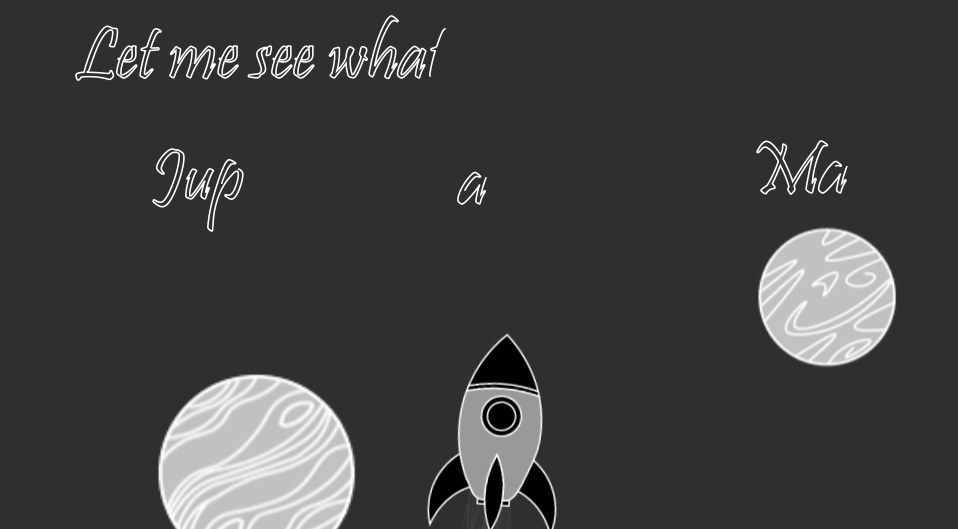
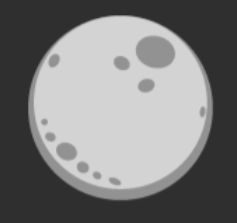
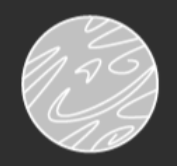
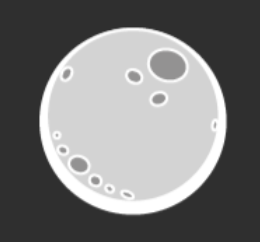
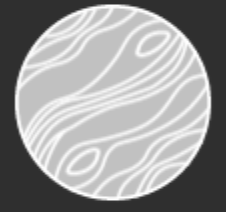
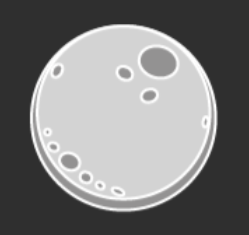
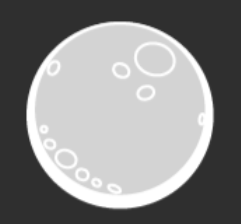
The lyrics of the song mention the Moon, Jupiter, and Mars throughout its lyrics, and since I had made the rocketship, I wanted to actually include all three and have the rocket fly by them as they are mentioned. All three were created in Illustrator and ported over to After Effects to be used in their sections, by moving into the shot and then moving out of the shot when the accompanying lyrics were over. The planets have a different style than the moon because I didn't like how the moon looked in the same style as the planets when creating them. Although it is stylistically inconsistent, I feel it works better this way strangely enough. Below the first three are the Moon, Jupiter, and Mars respectively, and below them are the designs I made for the moon to be more aligned with the other planets; however, these ideas were scrapped due to looking not as good. Another scrapped idea was to make the planets look like they were in an Earth's Spring season, if I were to come back to this project I would want to include this element, but at the moment I did not know how to add such a visual effect.
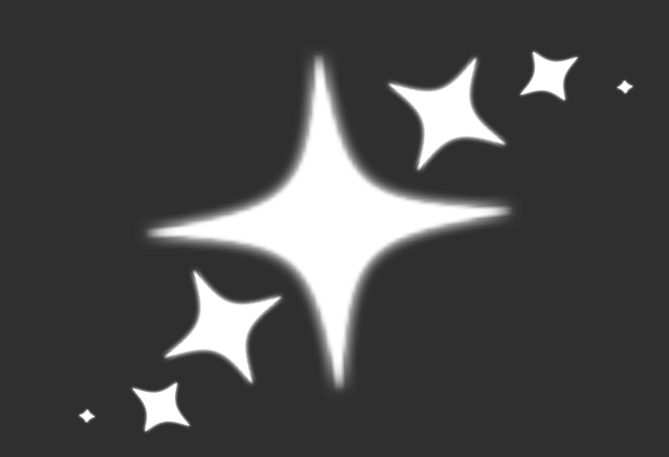
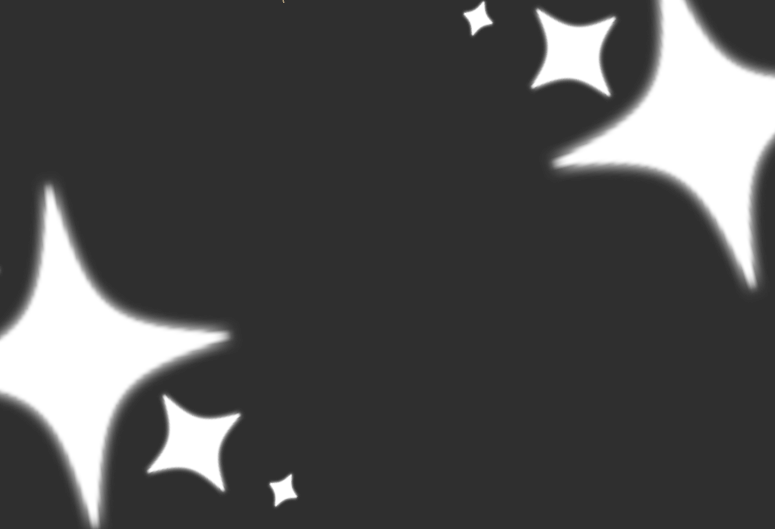
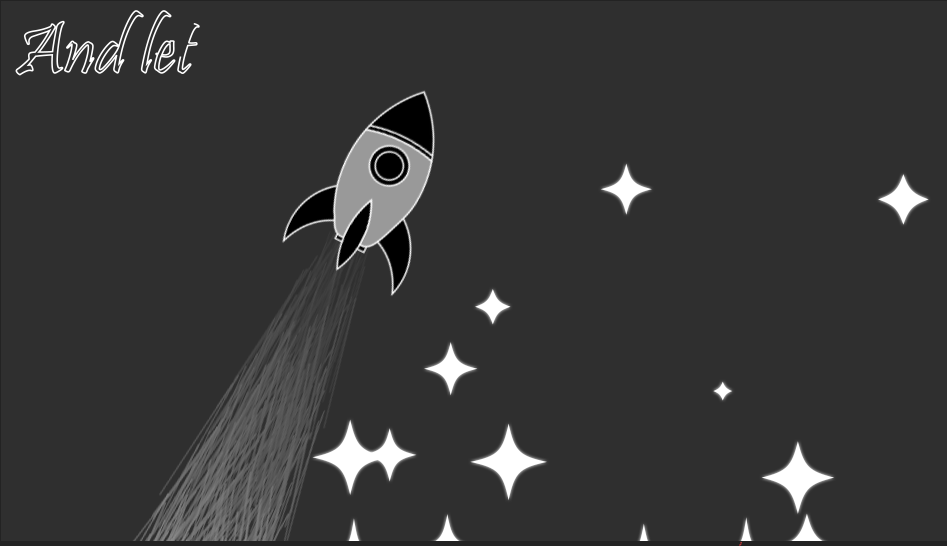
The lyrics then call for playing amongst the stars, to illustrate this feeling I made a star shower to the right of the rocket as it flew. This was done by using the same shape I had for the first stars I had created and keyframing them to move down and to the left. I did this many times to create a real sense of a shooting star shower, adding more visual elements and movement overall. I played with the size of some of the stars as well to make them not all the same size.
Hands and Heart
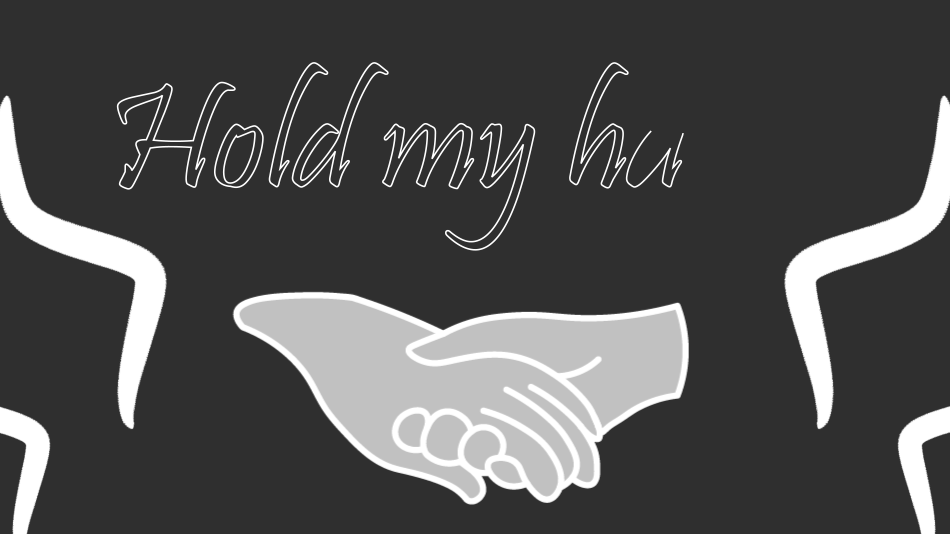
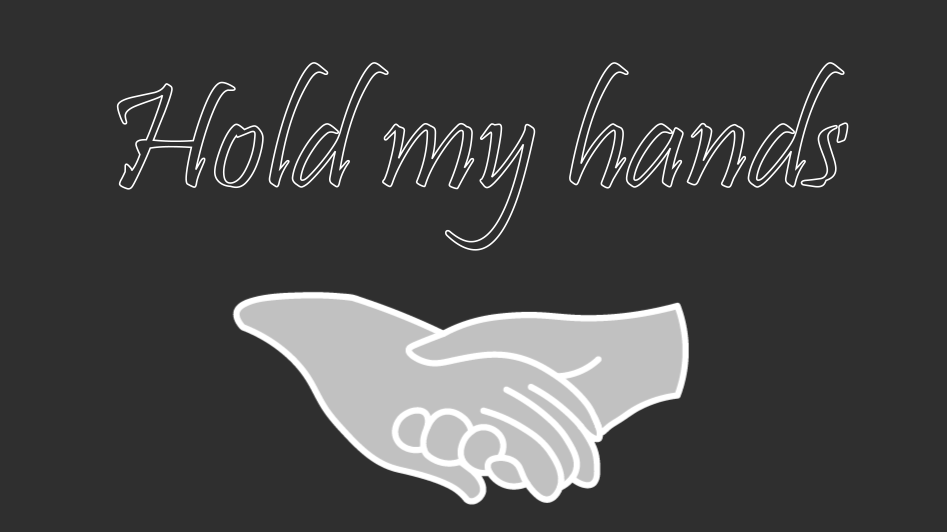
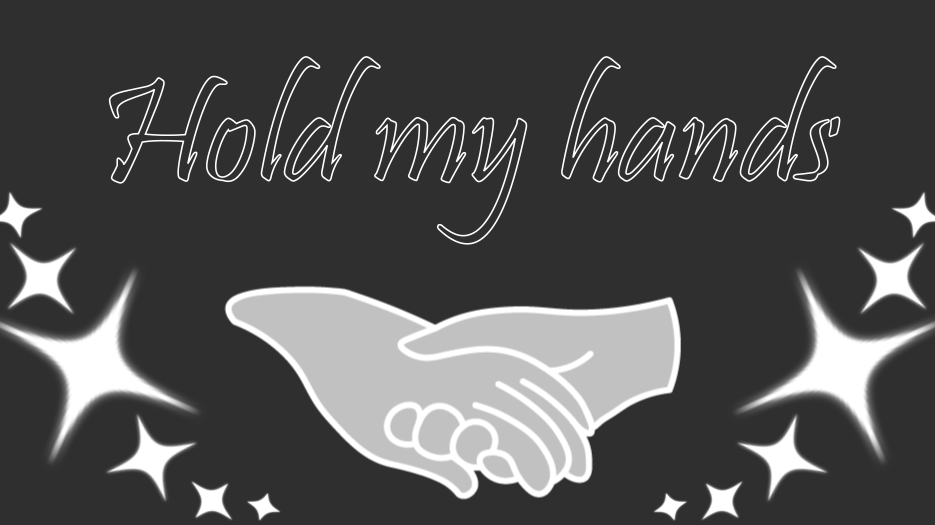
The lyrics say for the person to hold the singer's hand, I did this by creating two hands holding each other in Illustrator and porting it over to After Effects. My original plan was just to, have the hands come up and then come back down again, but that made the piece feel empty. To fill the space I added my Omino Snake line from the start of the song going down the sides, two on the left and two on the right. However, after they went through, the remaining time still felt empty, so I then reused the star spirals from the beginning as well, one in each bottom corner. While it was not much in terms of new elements, adding visuals to the space definitely improved the design and made it feel more full.
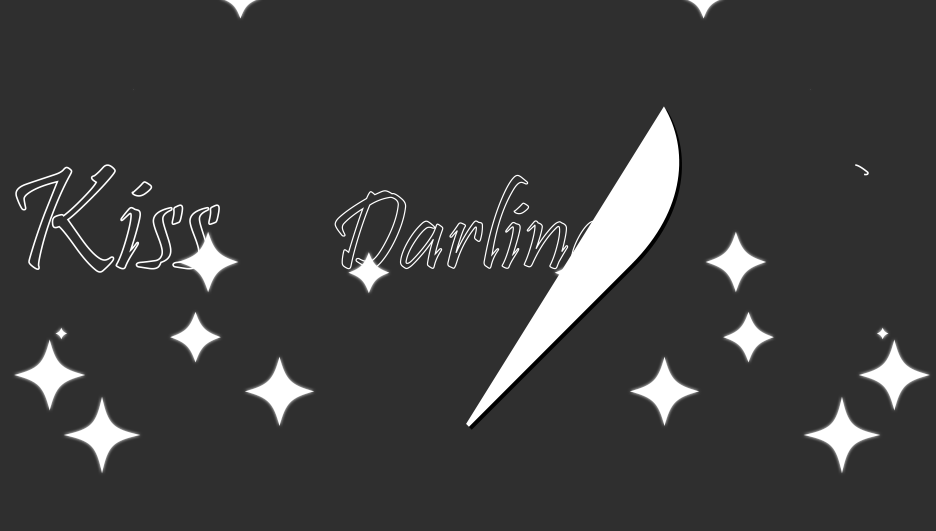
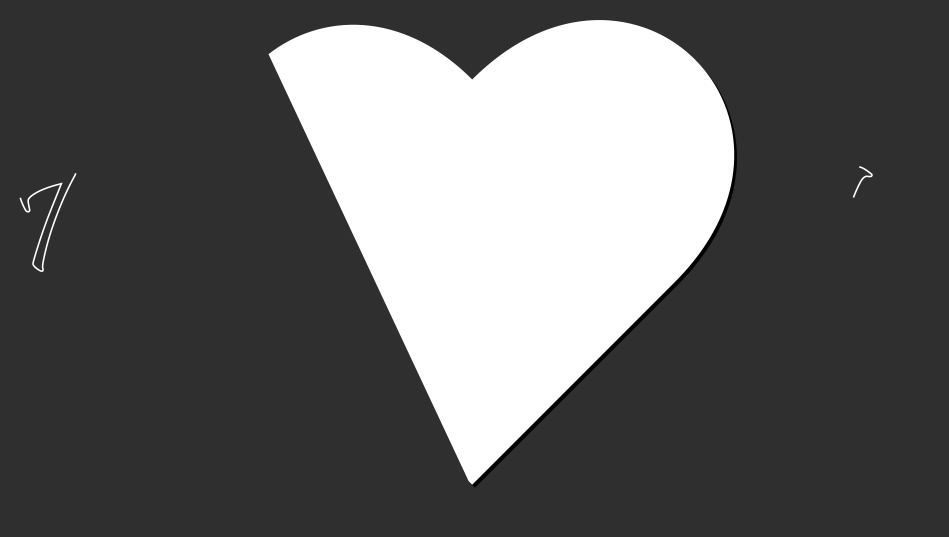
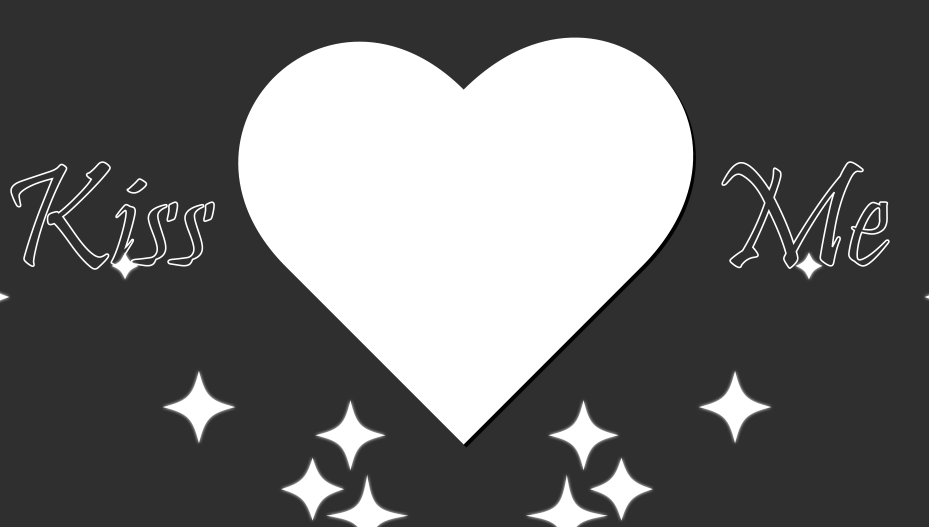
The final lyric I had done were the lyrics "Darling, kiss me." There were many approaches I could have made for the conclusion of the song, but the one I decided on was to have a heart created by Trim Paths in the center of the screen. While it is not the most technical of visuals, it displays the message across well. A happy accident while creating this was that when creating the heart I accidentally had it over the word "Darling," which gave me an idea. The original plan was to just have "Darling" above the heart as it came in, but now I saw that I could have "Darling" in the heart as it was being created with the Trim Path. This gave a nice effect of being encompassed by love, that being the heart, which was a related feeling to this moment. To add more visual elements in this scene I added the star showers in the corners of the video, much like the hands, it felt empty without at least something there.
After completing this project, I can confidently say that I had a great time creating it. After Effects is a nice program to use, which was an initial concern due to my love-and-hate relationship with some Adobe products, and it got me to use keyframes and animate. Creating all the visual elements myself was also a good experience, the project truly felt mine, personal. If I had more time on this project, I would want to do the full song and redo some elements that I feel could be improved on, such as adding Spring to the planets. Overall, I am happy with how the final product turned out and it was a great introduction to what After Effects can offer in terms of video and animation creation.